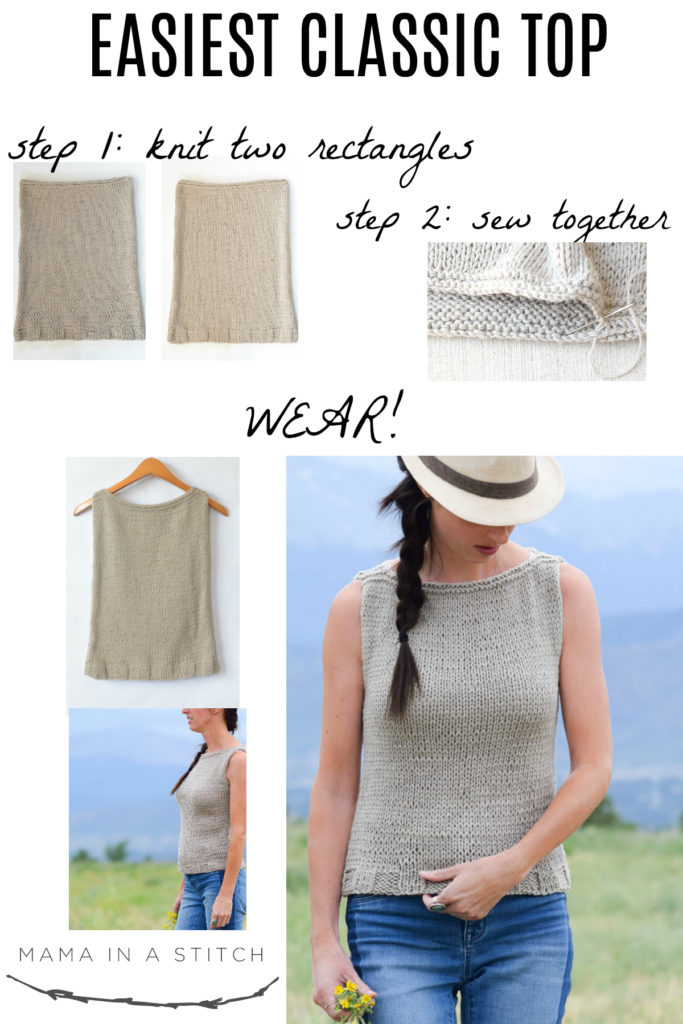
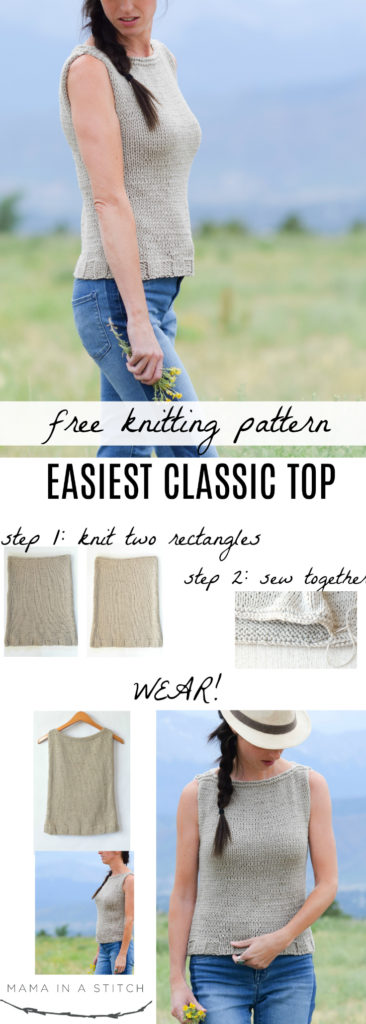
Knit Two Rectangles for an Easy Sleeveless Top
I have so enjoyed sharing the Summer Vacation Knit Top, the Little Black Tank and now this "Easiest Classic" knit sleeveless top made with Lion Brand Super Wash Merino yarn. While the other two knitting patterns feature mesh, this one is probably the most versatile as it's almost completely done in stockinette and has a cut that's appropriate for the office or the weekends. One of the first patterns that I shared on the blog was for fingerless mitts, knit flat. The main reason that I came up with that pattern was because I had searched extensively for a beginner fingerless glove pattern that didn't have any shaping or complicated knitting. This top uses that same concept – a simple pattern that doesn't use anything but newbie stitches yet it creates a piece that you're proud to wear or gift. I hope that this top is fun for a new beginner and also for someone who wants to make a classic top with little to no brain power. 🙂So scroll down to find the free pattern below (as usual), or you can purchase the yarn and kit from Lion Brand HERE, or the ad-free printable version for sale in my Etsy shop HERE.

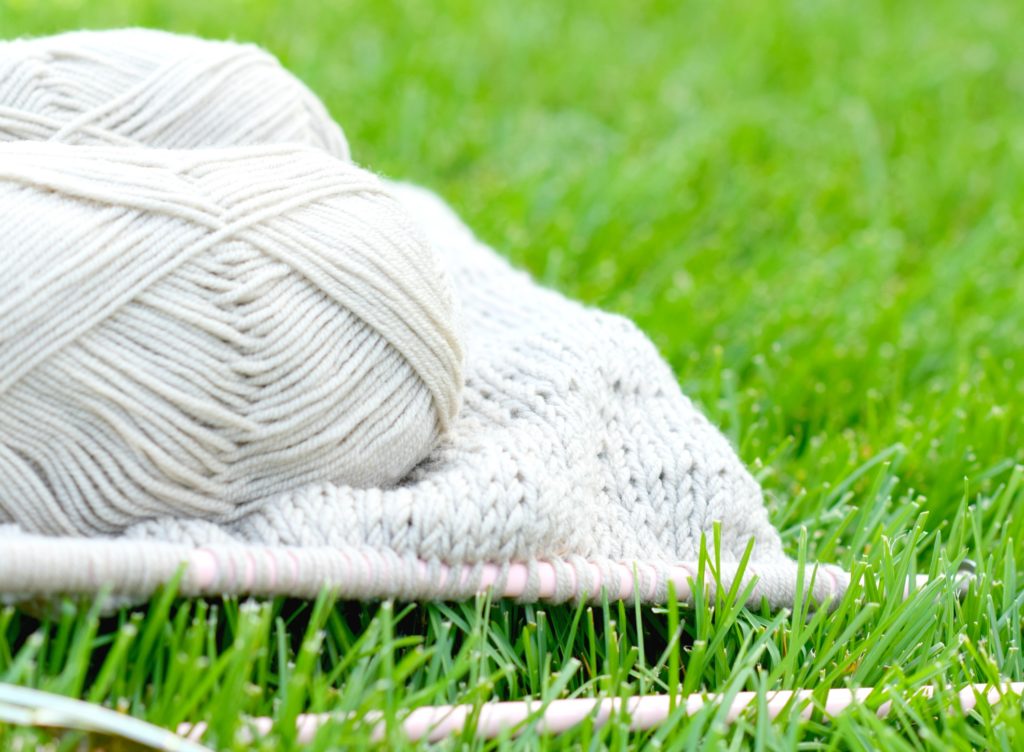
This was the first time that I've used the Lion Brand Colletion Superwash Merino yarn and it was so yummy! The yarn was so soft especially for being 100% wool and it was such a pleasure to work with. We deserve to treat ourselves to a special yarn every now and then, don't you think? I'm going to say that I'm pretty picky when it comes to wool as I don't want anything with even a hint of the itchies. He-he! This had no itchies and since it's a light weight yarn it was perfect to work with on warm summer days. The best part of all about this yarn is that it's washable! You're not going to make a felted mess if you wash your knit top (not that I know what it's like to felt a favorite sweater in the wash or anything – ugh). While I most often use chunky and super bulky yarns, I definitely plan to use this again and I highly recommend it.
This top is knit flat (most beginners are more comfortable with that), but if you're experienced it would be pretty easy to adjust the pattern to knit it in the round. Holding two strands of yarn together, you will simply knit two rectangles. Starting at the bottom, you will create a wide rib pattern and then move into knitting the stockinette stitch and finishing with a bit of garter stitch. You don't always have to make a hat or scarf for your first few projects. 😉
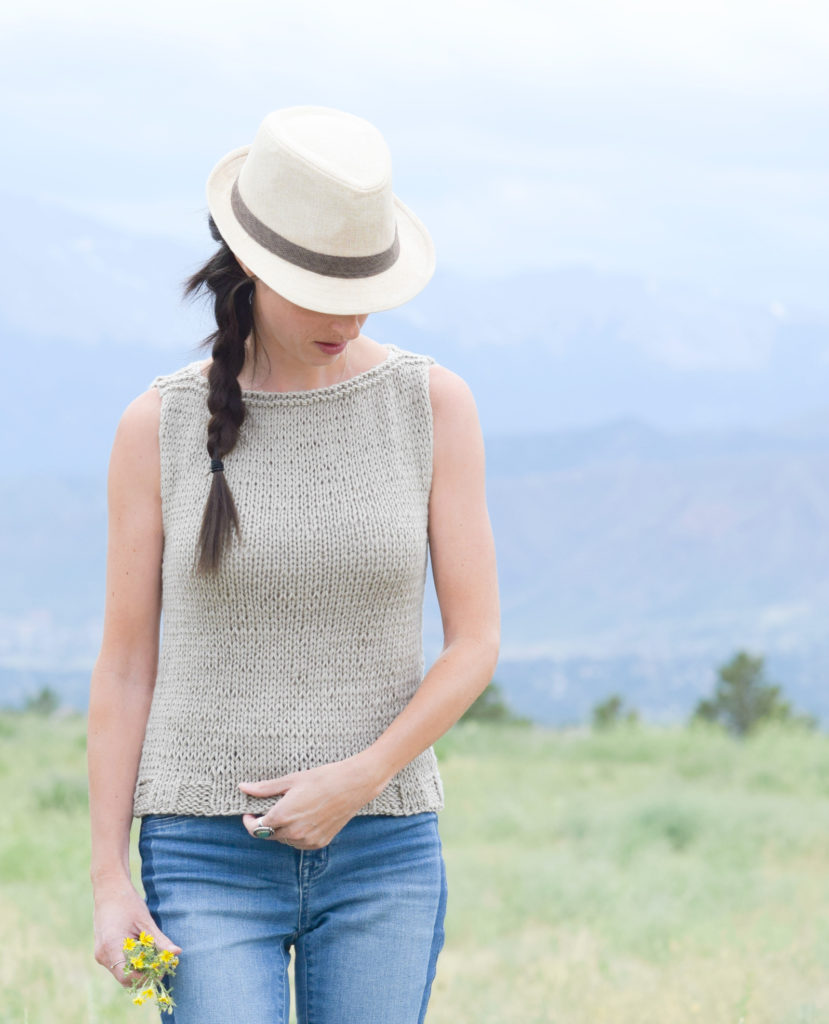
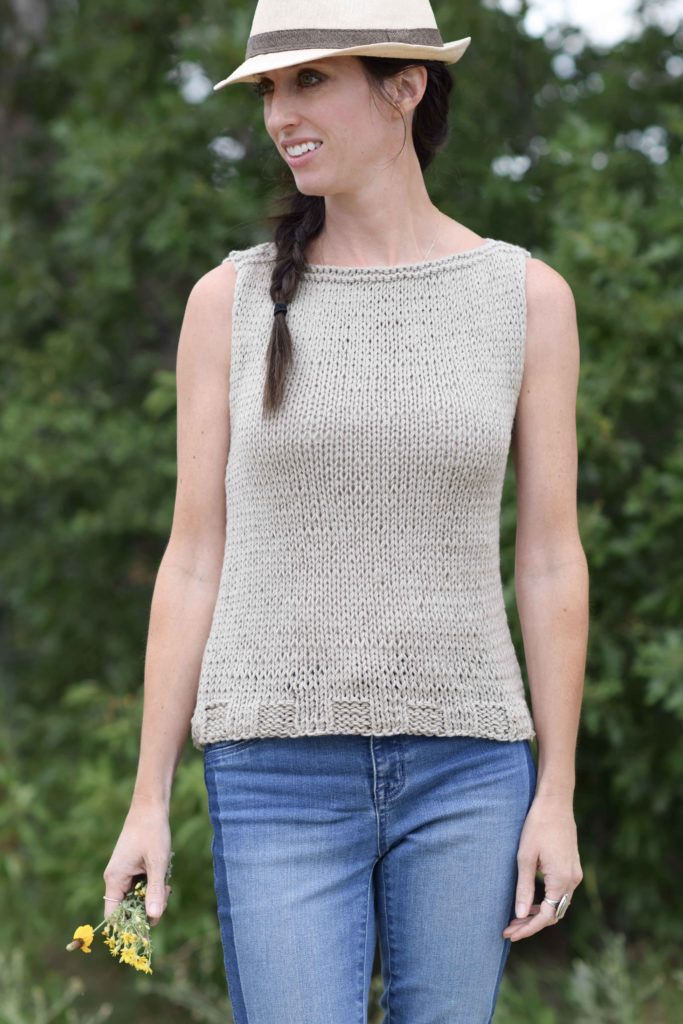
This beginner knit top will take you from work, to the movies and off to your weekend getaway. Pair this top with a blazer for the office, or wear it with jeans or shorts for a casual day out. A true classic for summer, fall and beyond. The lightweight, natural yarn gives it a great feel and a high end look. By holding two strands of yarn together and using size 11 needles, the top works up fairly quickly and has no difficult shaping. If you can knit and purl, you can do this! Proof that knitting something beautiful and functional is possible for complete beginners.
So scroll down for the FREE pattern below or you may choose to purchase the ad-free, printable version on Etsy HERE. Thanks so much for your support!
You will need:
US Size 11, 8.0 mm knitting needles
2 (X-Small), 4 (Small), 4 (Medium), 4 (Large) skeins of Lion Brand Collection Superwash Merino in Hemp Light #3 yarn, 306 yards & 100 grams/skein (Pattern uses: XS 174 g, S 203 g, M 260 g, L 295 g – it is made holding two strands together throughout the pattern and therefore uses two skeins at a time. (For the S, M, L sizes, using 3 skeins is possible if you split the skein and hand wind into two balls) Lion Brand yarn & pattern kit HERE
Scissors
Tapestry Needle to weave in ends and sew the seams
Skill Level:
Beginner
Skills & Abbreviations:
k- knit
p – purl
Please follow this key, noting the number of stitches for your size throughout the pattern.
(XS, S, M, L)
XS – Extra Small
S – Small
M- Medium
L- Large
Gauge:
Approximately 3.5 stitches per inch and 3 ¾ rows per inch (Check your gauge to ensure correct sizing & consider measuring your piece after a several rows)
Top Measurements:
Around Bust Measurements:
Extra Small: Approximately 28"
Small: Approximately 33"
Medium: Approximately 37"
Large: Approximately 42" around
Upper neck to bottom of edge shirt:
Extra Small & Small: Approximately 19"
Medium & Large: Approximately 22"
*This is not a long shirt. Increase the length as preferred by simply adding more rows of stockinette stitch equally to each panel
Notes:
This top is knit flat in two pieces and seamed up the sides and at the shoulders to finish. Essentially you will be knitting two rectangles and then sewing them together to create the shirt. In addition, you will hold two strands of yarn together for the entire pattern. You should be familiar with the super easy mattress stitch seaming method in order to seam the sides at the end of the pattern (there are many tutorials for this method that can be found through a simple online search).
Easiest Classic Top Pattern
Front Panel:
Hold two strands of yarn together for entire pattern
Cast On (52, 60, 68, 76)
Bottom Ribbing:
Row 1 K4, p4 across row (ending with a k4)
Row 2 P4, k4 across row (ending with a p4)
Rows 3 – 6 Repeat rows 1 & 2
Stockinette Body Portion: (You will now knit the stockinette stitch)
Row 7 Knit each stitch across row
Row 8 Purl each stitch across row
(XS, S) Row 9 – 62 or until desired length is reached, repeat rows 7 & 8
Row 63 – 66 Knit across each row
Cast off, weave in ends
(M, L) Row 9 – 74 or until desired length is reached, repeat rows 7 & 8
Rows 75 – 78 Knit across each row
Cast off, weave in ends
Back Panel:
Follow same pattern as front panel until row 7. Then follow pattern below (stockinette stitch):
Row 7 Purl each stitch across the row
Row 8 Knit each stitch across the row
(XS, S) Row 9 – 62 or until desired length is reached, repeat rows 7 & 8
Row 63 – 66 Knit across each row
Cast off, weave in ends
(M, L) Row 9 – 74 or until desired length is reached, repeat rows 7 & 8
Rows 75 – 78 Knit across each row
Cast off, weave in ends
Block both panels as needed.
Seam Front & Back Panels Together
Place panels one on top of the other with the right sides (knit sides) facing out. With a length of yarn and your tapestry needle, whip stitch seam the shoulders, working from the outside inward approximately 2" inches on each side. You may make the neck opening smaller or larger as you prefer.
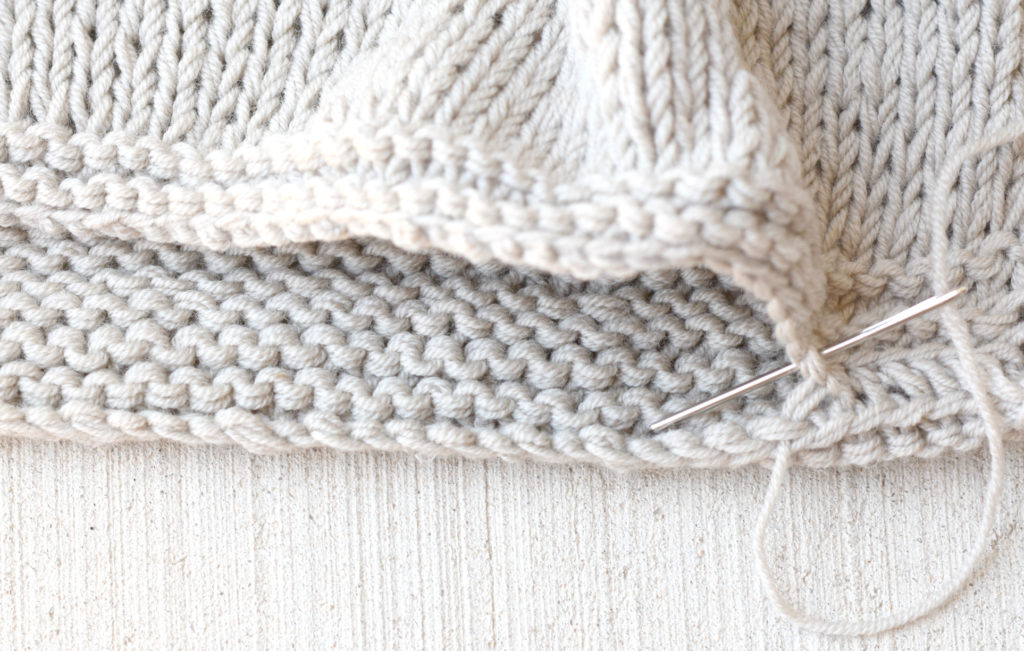
Above: using a simple whip stitch to seam the shoulders.
Next, seam up each side using a simple whip stitch in the ribbed section and a mattress stitch seam for the stockinette portion of the top leaving holes for the arms. Tie off and weave in ends. As pictured, the arm holes are 7" inches long (size extra small), however, you may make them as large or small as you'd like. Now you can wear it!
What do you think? Can a beginner make this top? Hope so!
XO,
Jessica
Thank you to Lion Brand Yarn for sponsoring this post. All opinions are 100% my own.
Source: https://www.mamainastitch.com/easiest-classic-knit-top-pattern/
0 Response to "Knit Two Rectangles for an Easy Sleeveless Top"
Post a Comment